
Getting started & setup
Promotions
In short
This guide explains Promotions in the Getting started & setup area of ClinicSoftware. It provides a clear operational explanation of how the capability works, then outlines the practical benefits for saving staff time, converting clients and leads, and protecting clinic revenue.
On this page
Overview
This guide explains Promotions in the Getting started & setup area of ClinicSoftware. It provides a clear operational explanation of how the capability works, then outlines the practical benefits for saving staff time, converting clients and leads, and protecting clinic revenue.
How it works
From this page, you can set up promotions that appear in the main PROMOTIONS page.
The promotions represent a bundle of services, courses and products with a discount applied per bundle.
You can also specify the price of each item inside of the promotion with a promotional discount of 0% or a combination of the two.
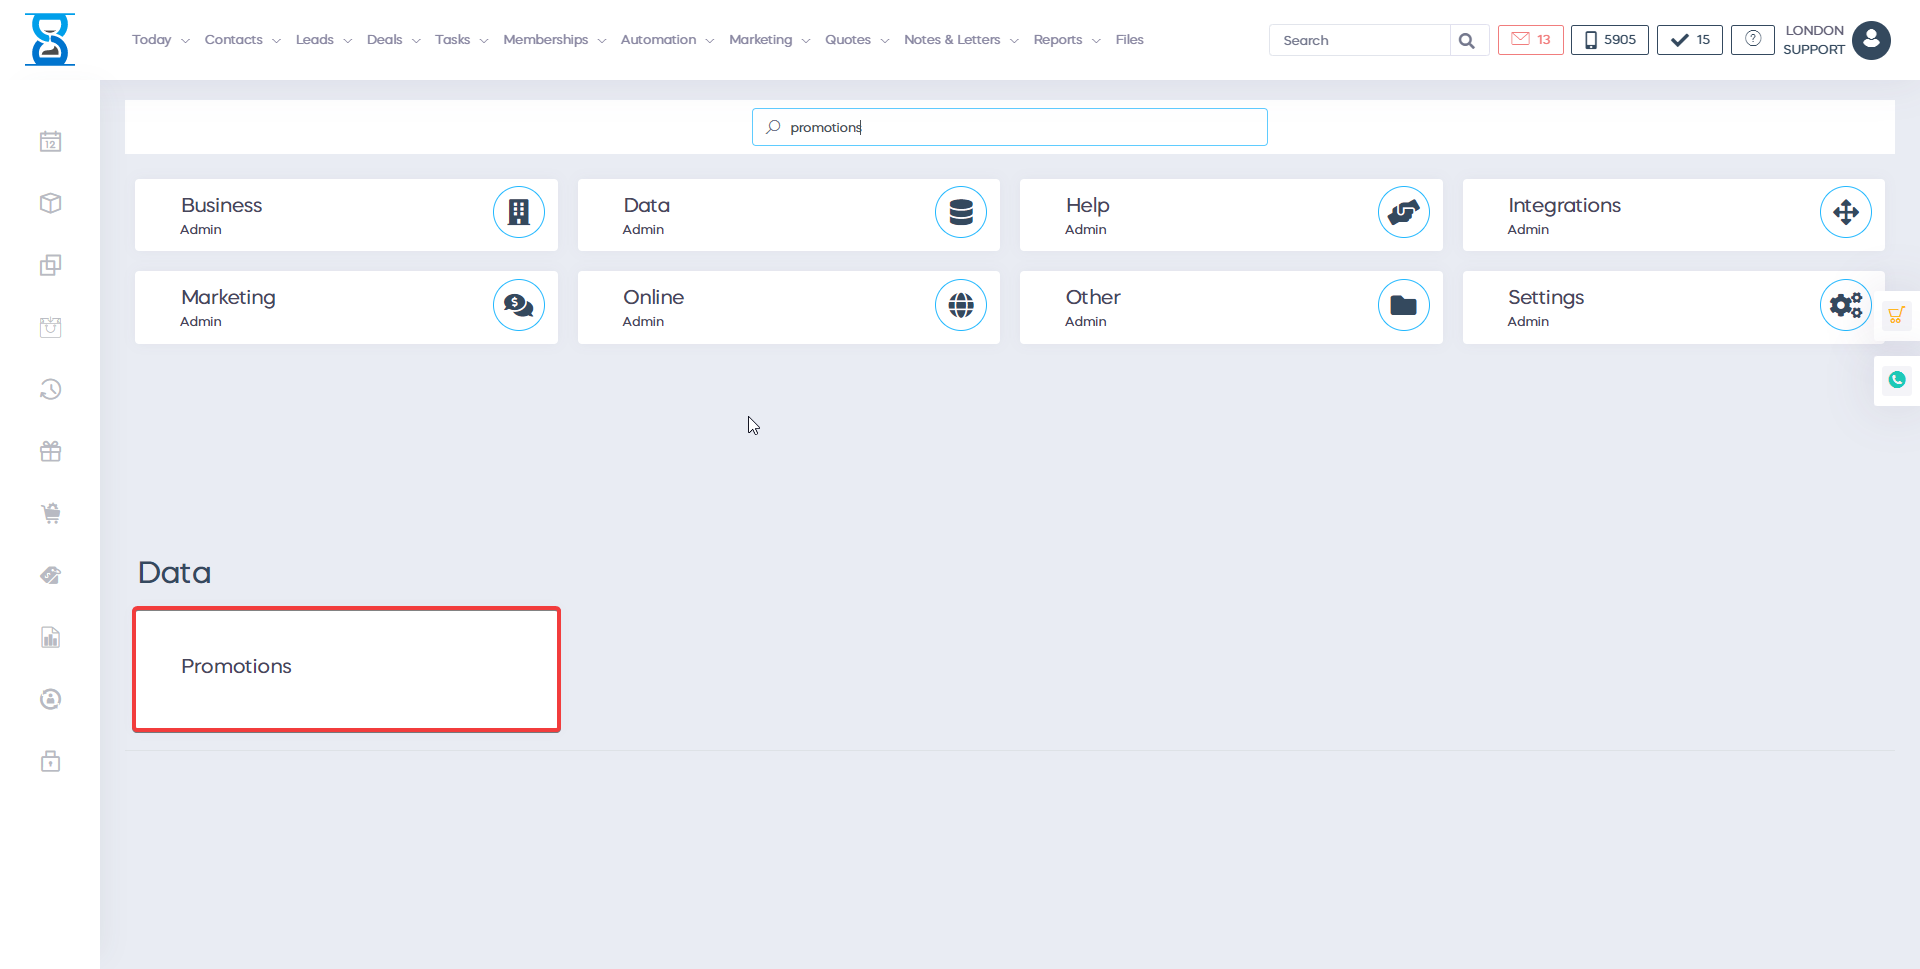
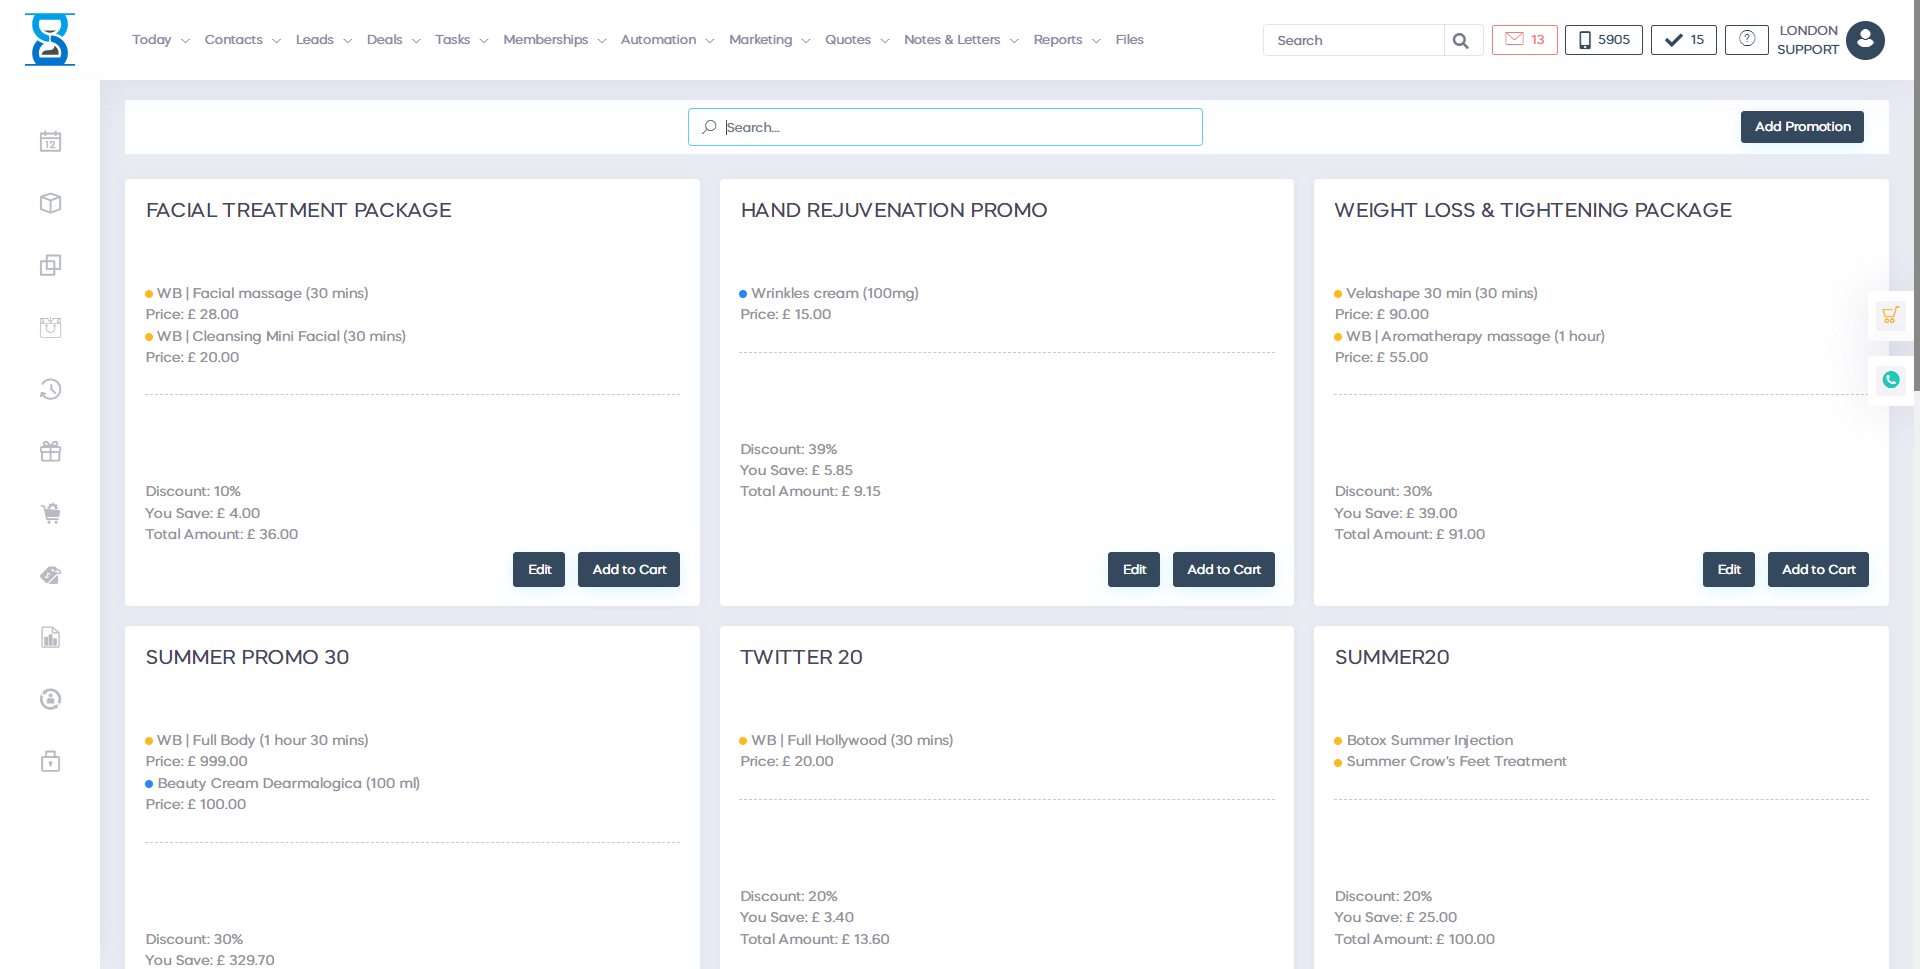
The promotions are added on a location basis.
To display the promotions of another location use the drop box from the top section of the page.

To add a new promotion, select the “Add New” button from the bottom section of the page.
From this page, we can select the location, specify the promotion title and discount percentage.
Complete the action by pressing the “Add Promotion” button.
After the promotion has been added, you will be redirected to the promotions list page.
We can now add the items (services, courses and products).
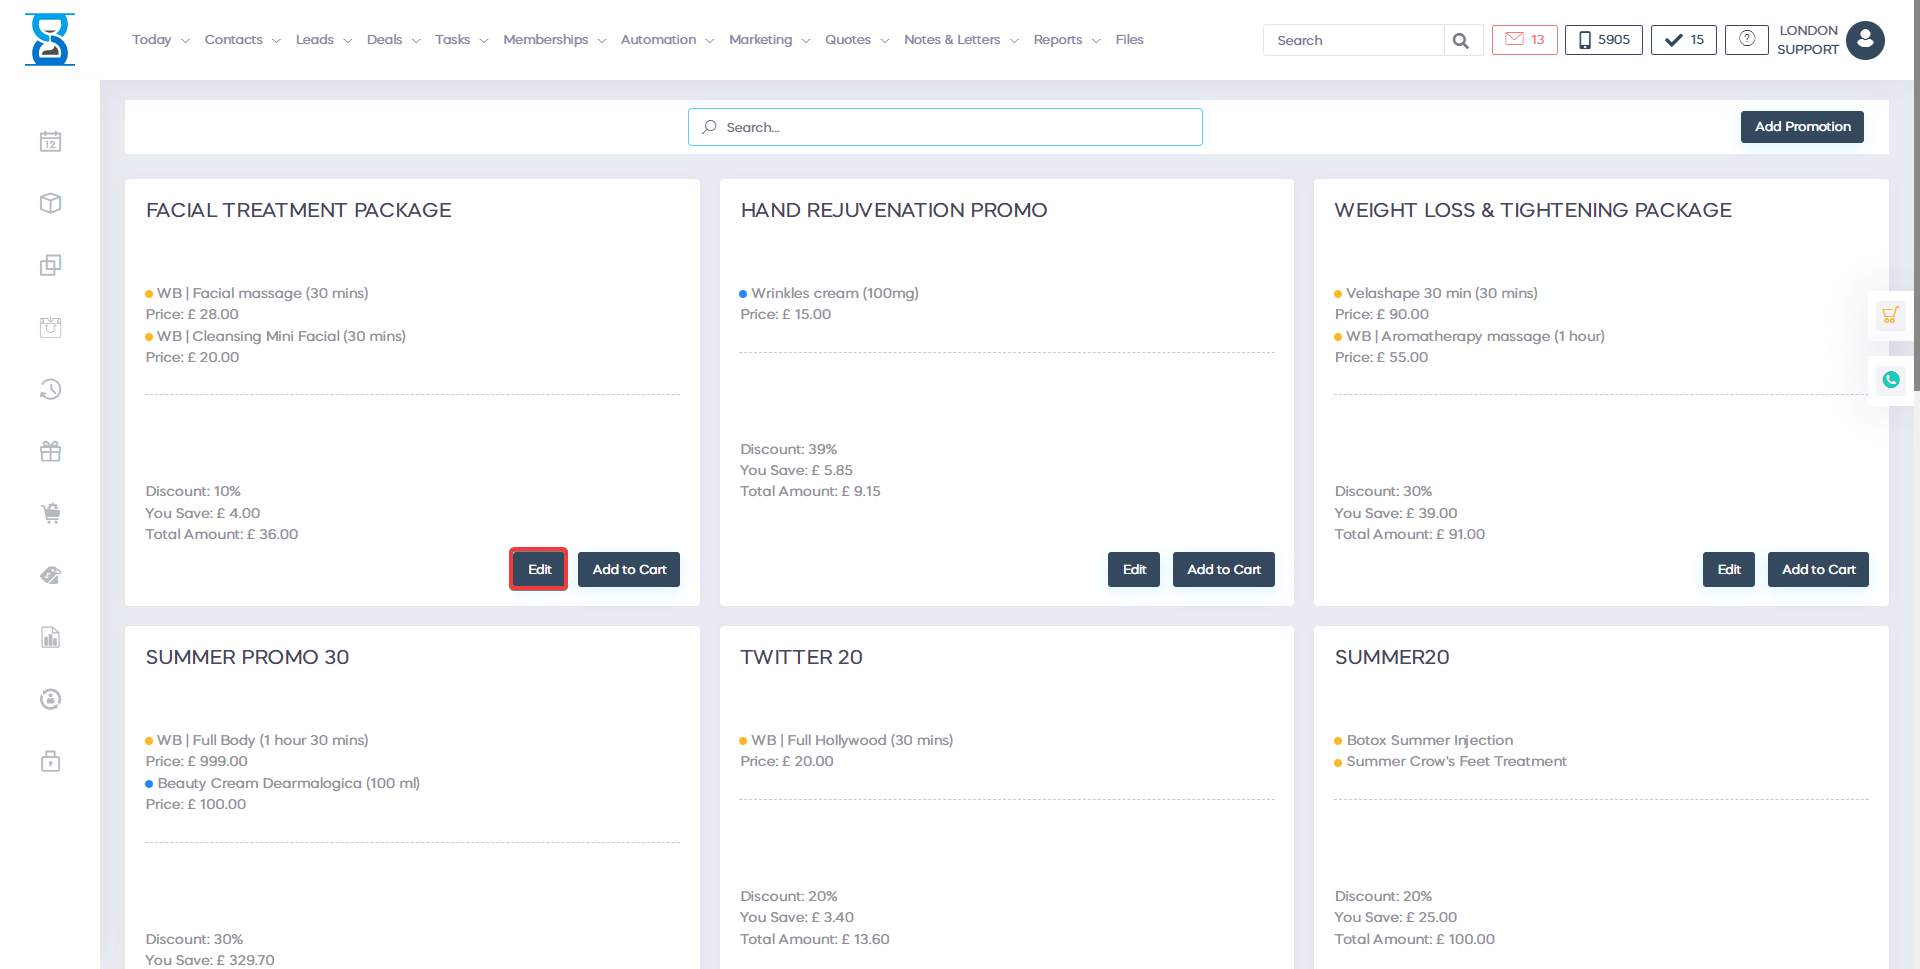
To do this select the “Edit” button of the promotion.

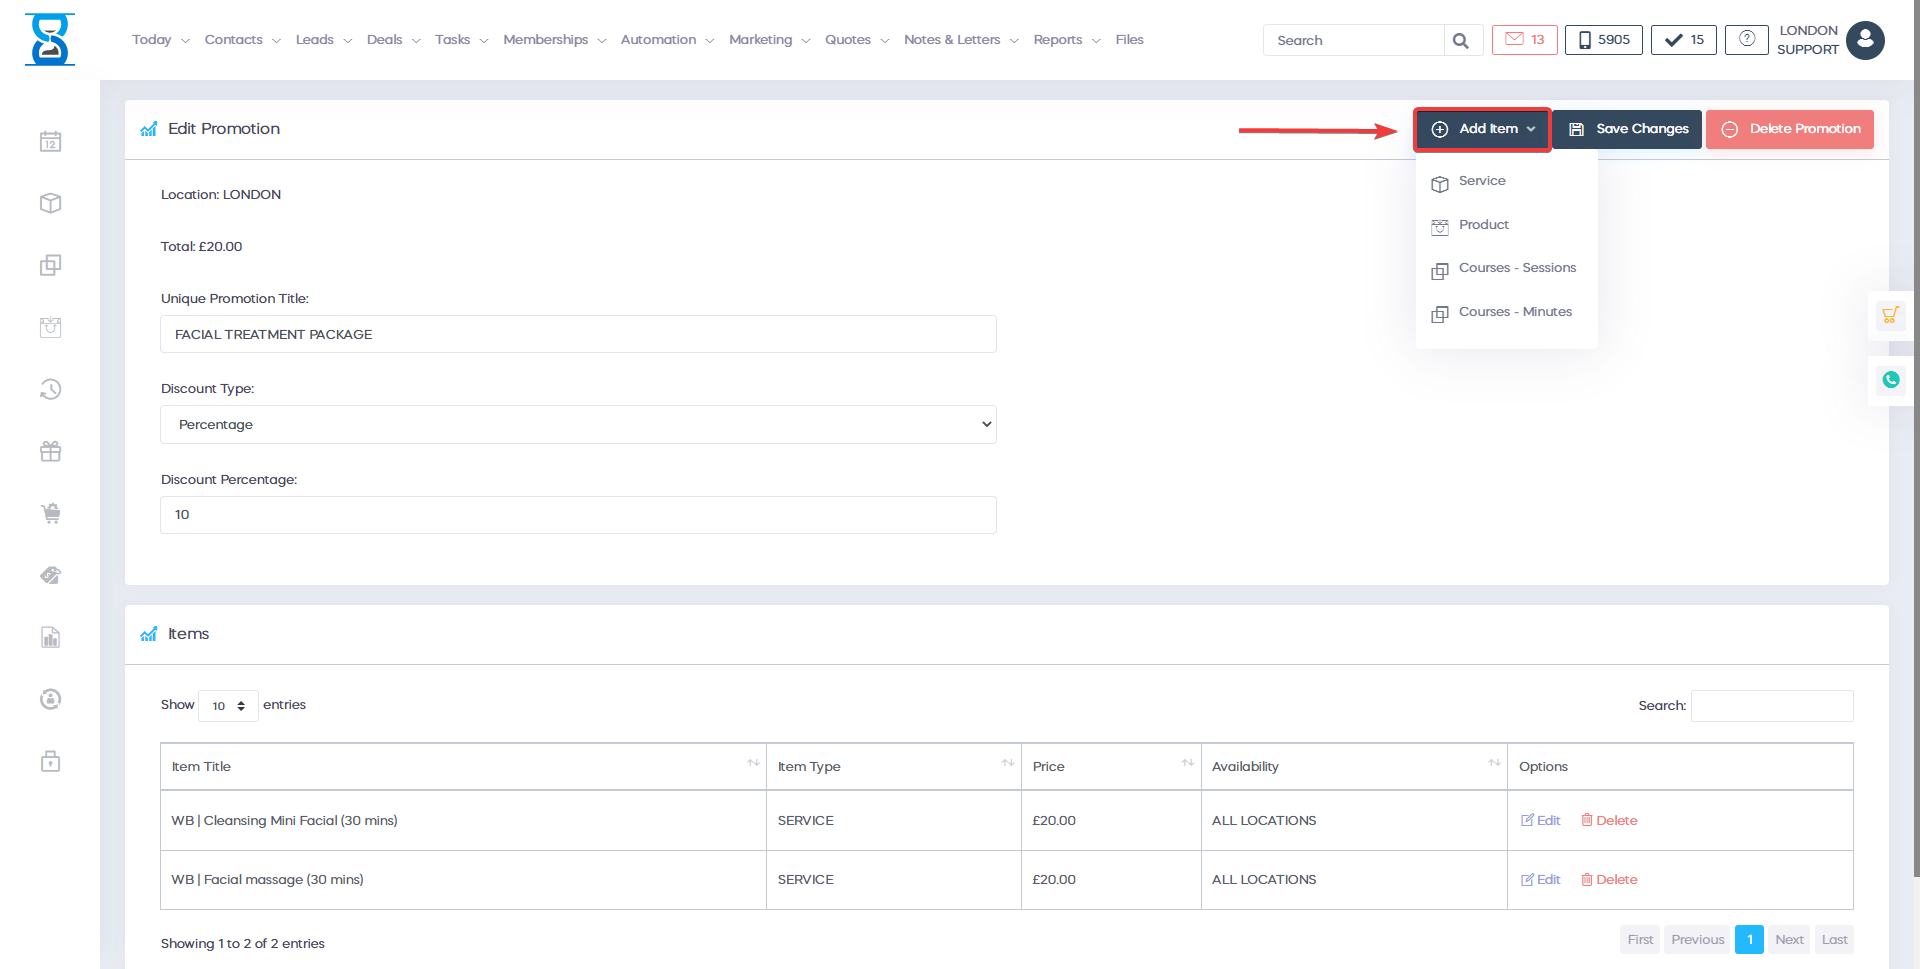
To add an item to the promotion, select the “Add Item” button located in the bottom section of the page.
By default services are selected, to add a product or course, choose the item type form the drop box:
When adding products we must also specify the storage room from which the stock will be deducted:
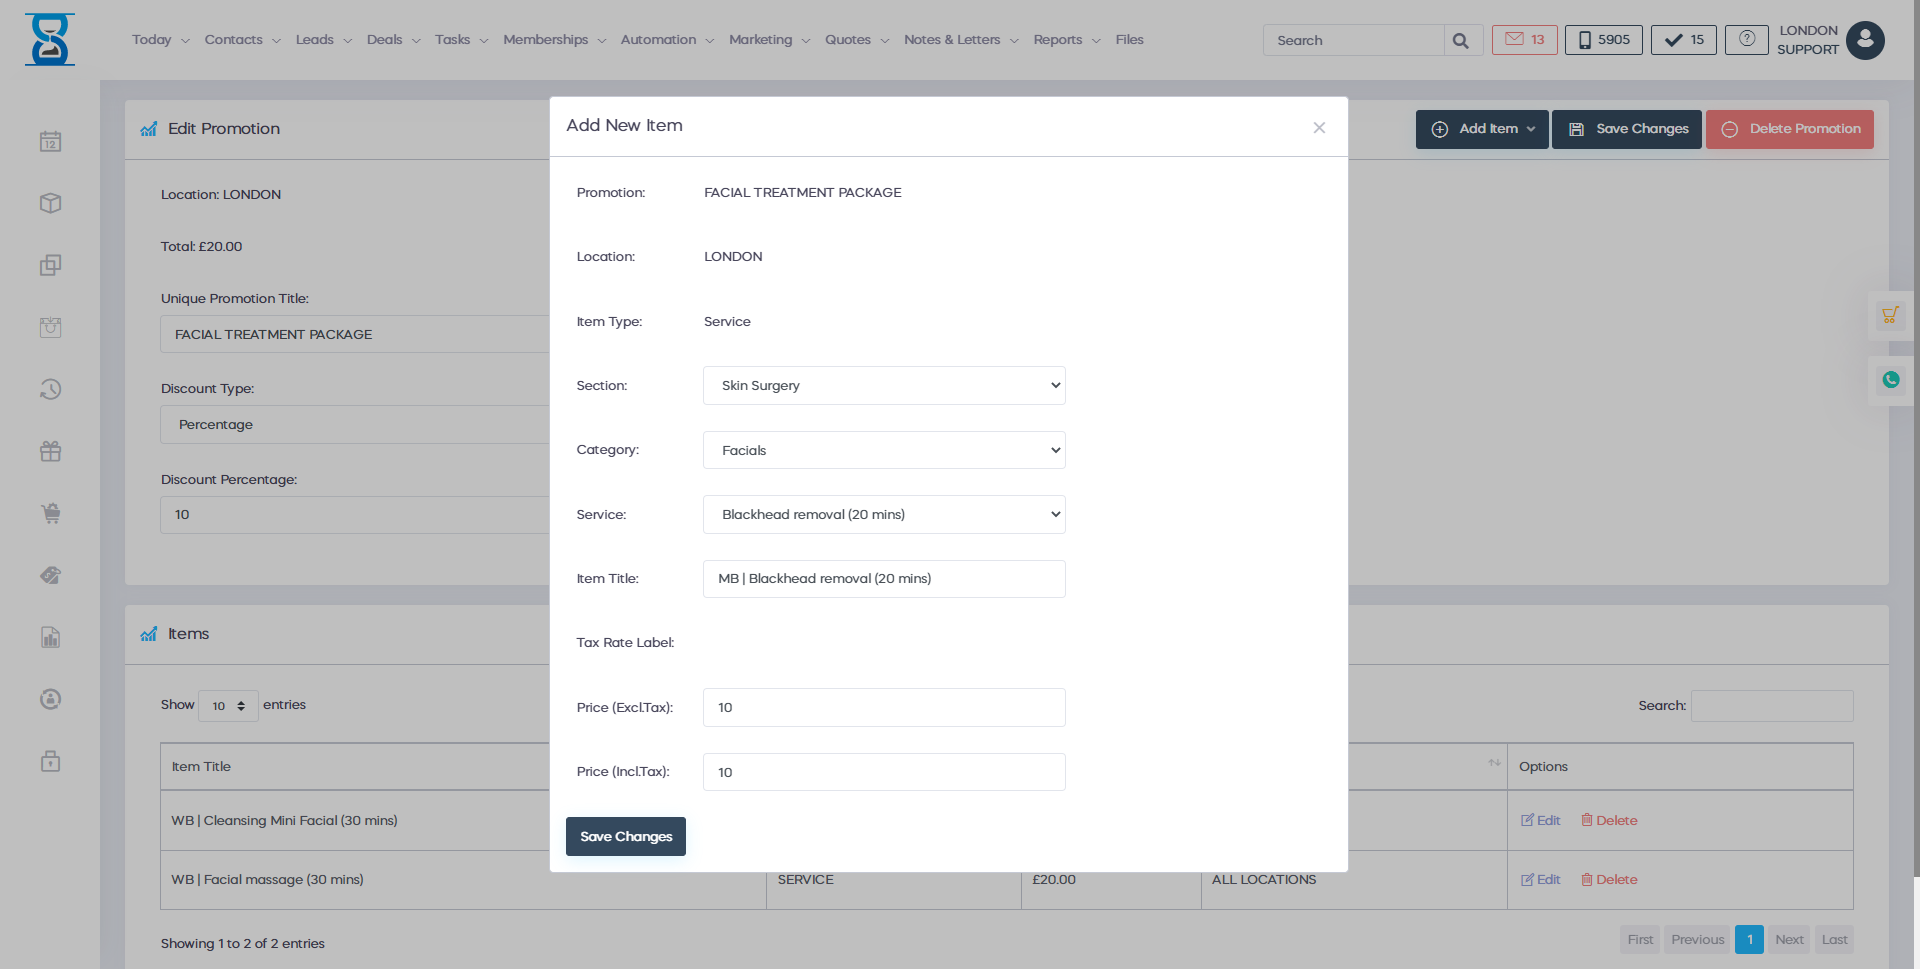
The “Item Title” and “Item Price” fields will autocomplete with the title and price values of the selected item.
If you wish to specify a different price for the item while being part of the promotion then enter the new price in the “Item Price” field.
Complete the action by pressing the “Add item” button.
To edit or delete an existing item of the promotion, use the “Edit” and “Delete” buttons of the item.

From the promotion’s items list page you can also edit or delete the selected promotion by using the “Edit Promotion” and “Delete Promotion” buttons located in the bottom section of the page.
The “discount percentage” and “discounted value” fields are linked together, specifying the discounted value will calculate the percentage needed to reach the discounted value and update discount percentage field.
Benefits for your clinic
- Save time: Automates repetitive communication around Promotions, so staff can focus on clients in clinic instead of manual follow-up.
- Win clients and leads: Keeps prospects and past clients engaged with timely messages, improving conversion from enquiry to booked appointment.
- Generate revenue: Consistent nurture, rebooking and promotional activity helps fill the diary and increase repeat and package sales.